

Building web applications with Node.js and Express requires a properly set up development environment. In this article, I will walk you through the process of setting up your development environment step by step. By the end, you'll have a fully functional environment to start building Node.js/Express applications. So leggo!!
Step 1: Installing Node.js
Node.js is a JavaScript runtime that allows us to execute JavaScript code on the server-side. Follow the steps below to install Node.js:
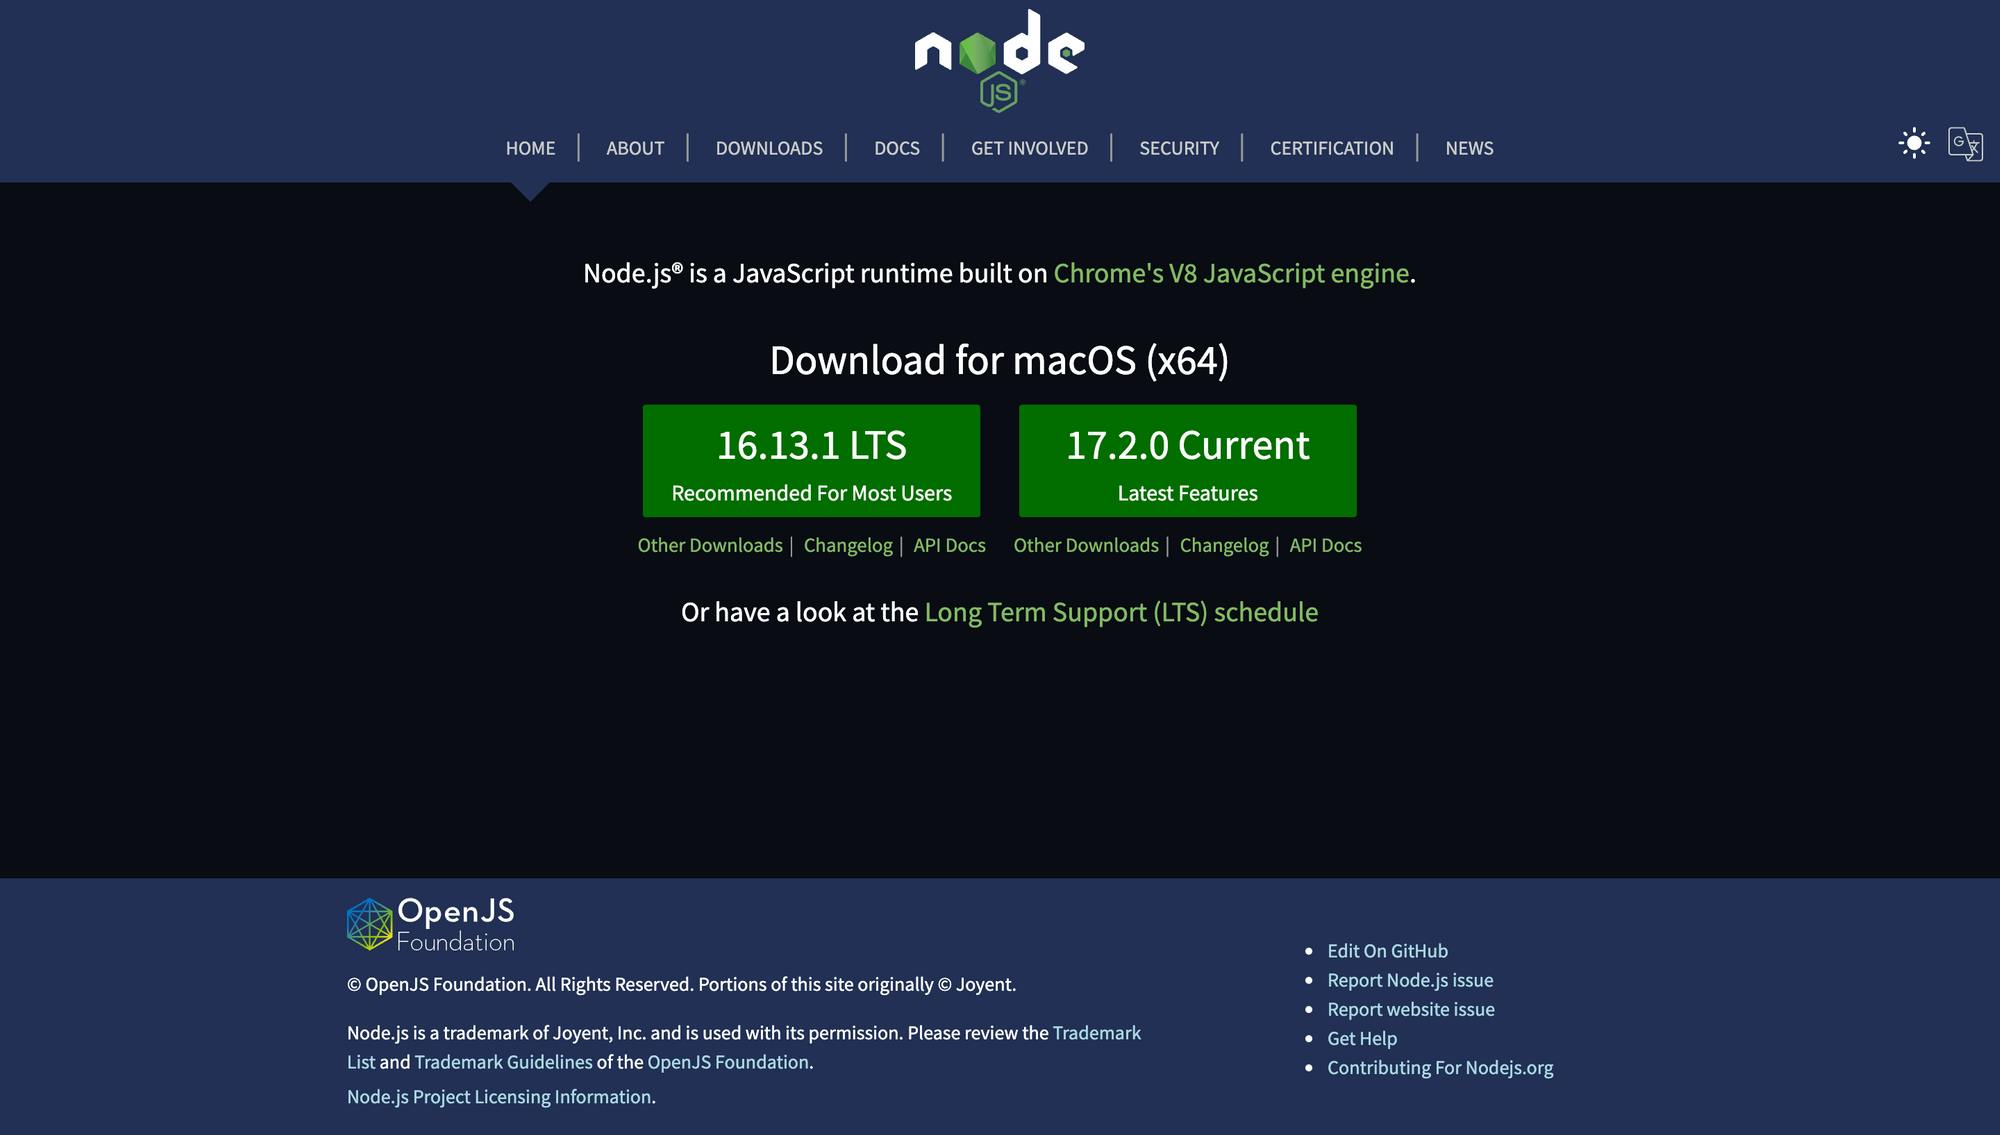
Visit the official Node.js website at nodejs.org and navigate to the Downloads section.
Choose the appropriate installer for your operating system. Node.js provides installers for Windows, macOS, and Linux. Download the installer that matches your operating system.
Run the installer and follow the on-screen instructions or prompts. The installer will guide you through the installation process, including choosing the installation directory and selecting optional components.
Once the installation is complete, open a terminal or command prompt, and verify that Node.js is installed correctly by running the following command:
node -v
This command will display the installed Node.js version. If the version is shown, Node.js is successfully installed.
Congratulations on successfully carrying out step 1 of this process, now on to the next step, stay with me!
Step 2: Setting Up a Package.json File
A package.json file is used to manage dependencies and configure the Node.js project. To create a package.json file, follow these steps:
Open a terminal or command prompt.
Navigate to the project's root directory where you want to create the package.json file.
Run the following command:
npm initThis command initializes a new package.json file in the current directory.
You'll be prompted to enter various details about your project, such as the package name, version, description, entry point, and more. You can press Enter on your keyboard to accept the default values or provide your own. Once you've answered all the prompts, a package.json file will be created in the project's directory.
Step 3: Installing Express
Express is a popular web framework for Node.js that simplifies the development of web applications. To install Express, follow these steps:
On your already opened terminal or command prompt
Navigate to the project's root directory where the package.json file is located.
Run the following command to install Express:
npm install expressThis command will download and install the latest version of Express and its dependencies.
Once the installation is complete, you can verify that Express is installed by checking the dependencies section in your package.json file. It should list Express as one of the dependencies, your package.json file should look like this.

Congratulations! You have successfully set up a development environment for Node.js and Express. You can now start building your Node.js/Express applications.
Conclusion
In this article, we walked through the process of setting up a development environment for Node.js and Express. We covered installing Node.js, setting up a package.json file, and installing Express. With your environment ready, you're now equipped to start building powerful web applications using Node.js and Express.
Note: Remember to consult the official documentation of Node.js and Express for more detailed information on their usage and features. Happy coding!